Custom Reports#
Custom Reports allow users to create reports based on Contacts that match selected criteria. They can be used to identify a specific group of Contacts and work with the resulting list.
Adding report fields#
The first step in building a Custom Report is adding the fields you want to display in the report. These fields determine the information shown for each Contact in the report results.
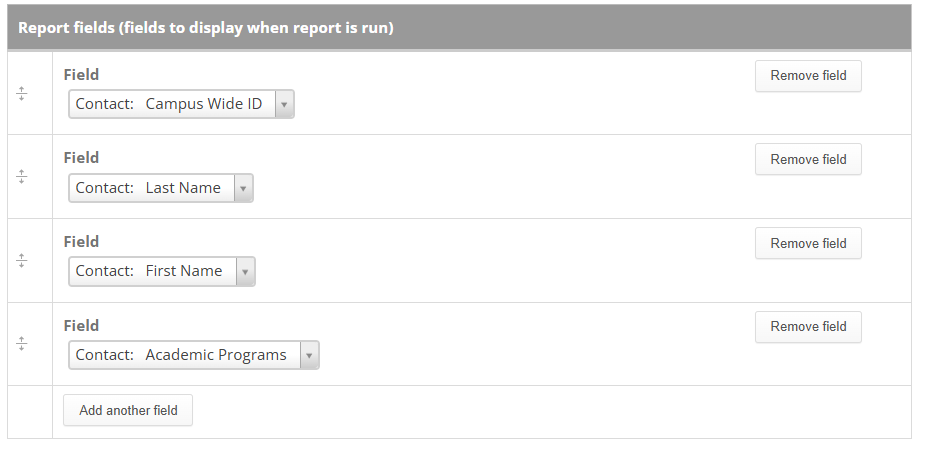
After adding the fields, you can continue configuring the report criteria that determine which Contacts appear in the results.
Adding conditions#
The second step is adding conditions. Conditions check the values of selected fields and determine which Contacts are included in the report.
You can add multiple AND conditions and multiple OR conditions to define the criteria for the report.

After adding or changing conditions, click the teal check icon to apply them. Then save the Custom Report.
Running the report#
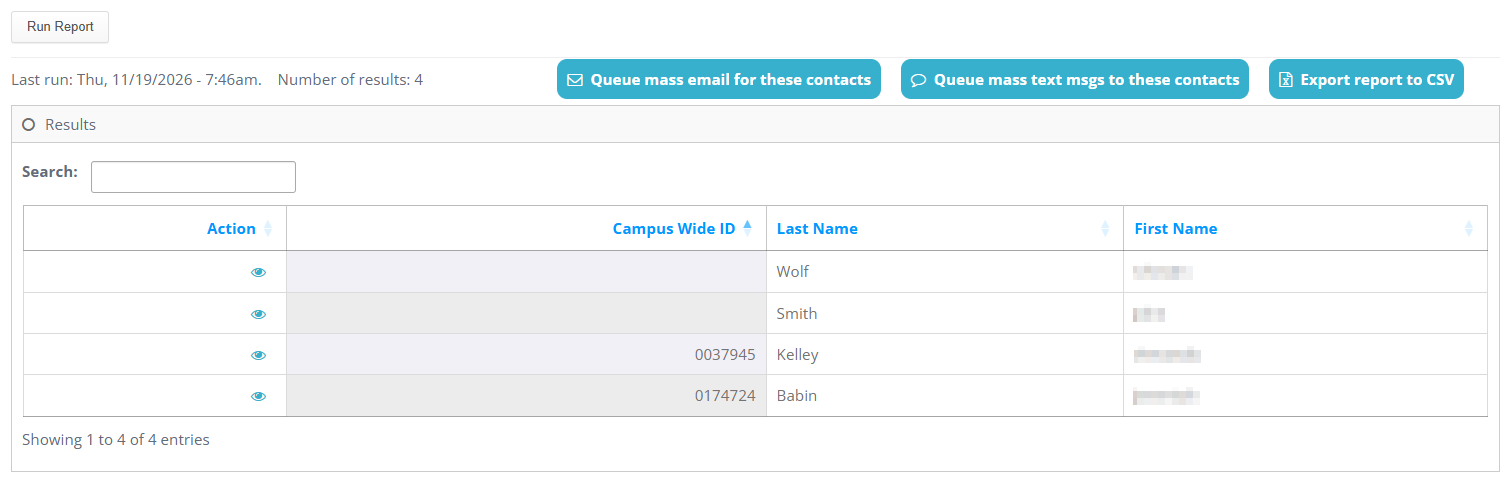
Select Run Report to have Jetstream process the report using the fields and conditions you selected. After processing is complete, the report results are displayed on screen.
At the top of the results, you can choose to:
- Send a mass email to the Contacts in the report
- Send mass text messages to the Contacts in the report
- Export the report results to CSV
The criteria, available actions, and Contacts included in a report may depend on the user’s permissions and the institution’s Jetstream configuration.